Email Tutorials - Learn How to use Email - How to setup an Email Account - Outlook setup made easy - Easy instructions on setting up Outlook
Online Marketing Tutorials - Internet Marketing Tutorials - Discover how Easy it is to Build a Successful Website - Search Engine Marketing

Setting up Outlook as your Email Client

Outlook is a full featured email client that allows you to access your email from any service, whether web based such as hotmail and gmail, or from a pop3 account such as the one you'll use at InDemand, it even handles exchange email services. Regardless if you want to use Outlook from the office or from home, it is a valuable tool and one worth your consideration. The following instructions should help you with your email setup, specifically made for the clients of InDemand Sales and Solutions, but should work for most services. Depending on the version of Outlook you are using, there may be some differences from the images provided below, but the steps themselves should be accurate.

  • Open Outlook and select Tools from the menu at the top of the screen, then select Account Settings


  • Next, select the button to create a new account. Depending on your version of outlook it may look slightly different than the image below, but the important part is to specify you want to create a new account:


  • The next step is to specify which type of email account you want to setup (for InDemand it will always be the pop3 account type):

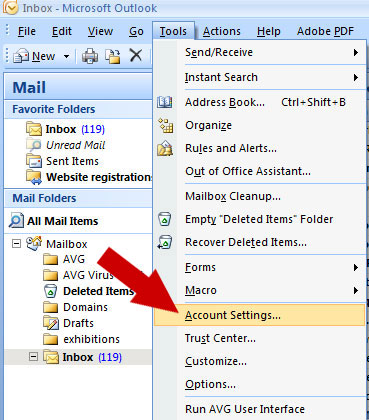
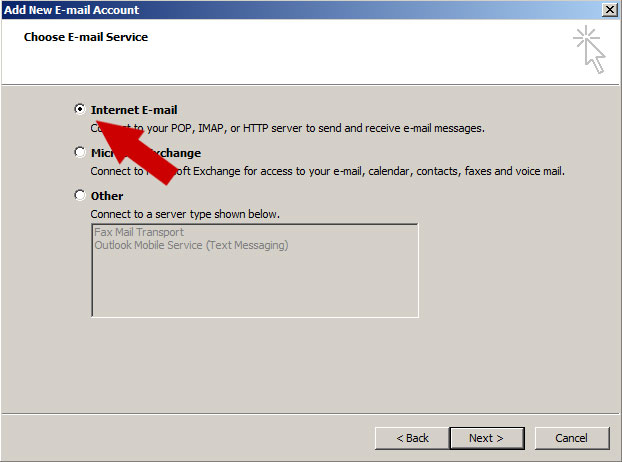
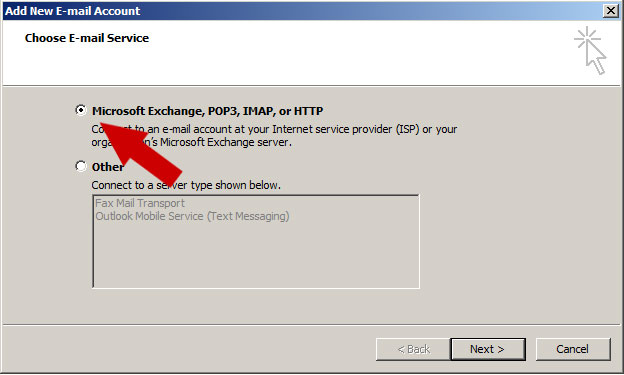
    Select the pop3 Email Service and then click Next.


  • While Outlook is willing to attempt to detect your email server settings, it is safer to manually specify them to be sure they are right, so click the button labeled "Manually configure server settings or additional server types", and then click Next:


  • If your client asks you again to pick the E-mail Service type (some versions of outlook do), select the Internet Mail option:


  • Fill in the information for your account and click the More Settings... button:


  • Select the tab at the top that says "Outgoing Server" and click the button that says your server requires authentication (ours does). Be sure to have the option clicked that says "Use same settings as my incoming mail server and click OK:


  • If you are a Shaw Cable Internet user, you will also need to go to the More Settings and go to the Advanced tab. Shaw disables port 25 for their users so that only shaw email can be used. At InDemand Sales and Solutions, we've set up an additional port for you to remove this limitation. Once you are in the Advanced tab, change the Outgoing server (SMTP) from 25 to 2525 and click OK:


  • You should be back at the previous screen now, click Next to proceed:


  • You should now see the screen below, which means you have successfully completed the setup of your new email account. Click finish to complete the process:


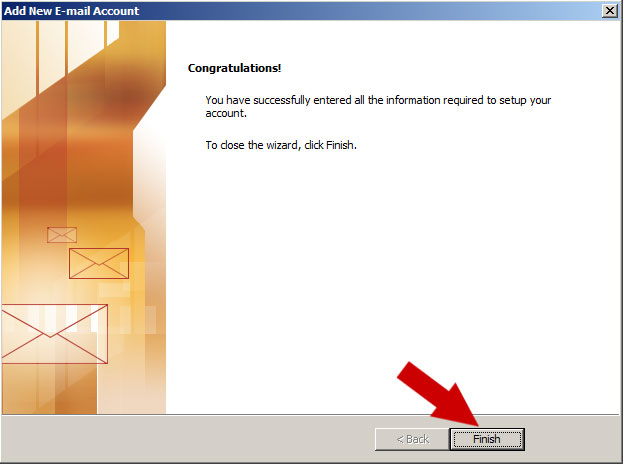
    Sometimes, depending on the version of Outlook used and other factors, there can be complications, in which case, if you are a InDemand client, please contact us using our contact form for additional help.